


Motorized Remote control with ATMEGA328
#ATMEGA328
#motor driver
#L293D
#IR receiver
#TSOP 1738
#DC motor
#remote control
#Arduino
#motorized curtain
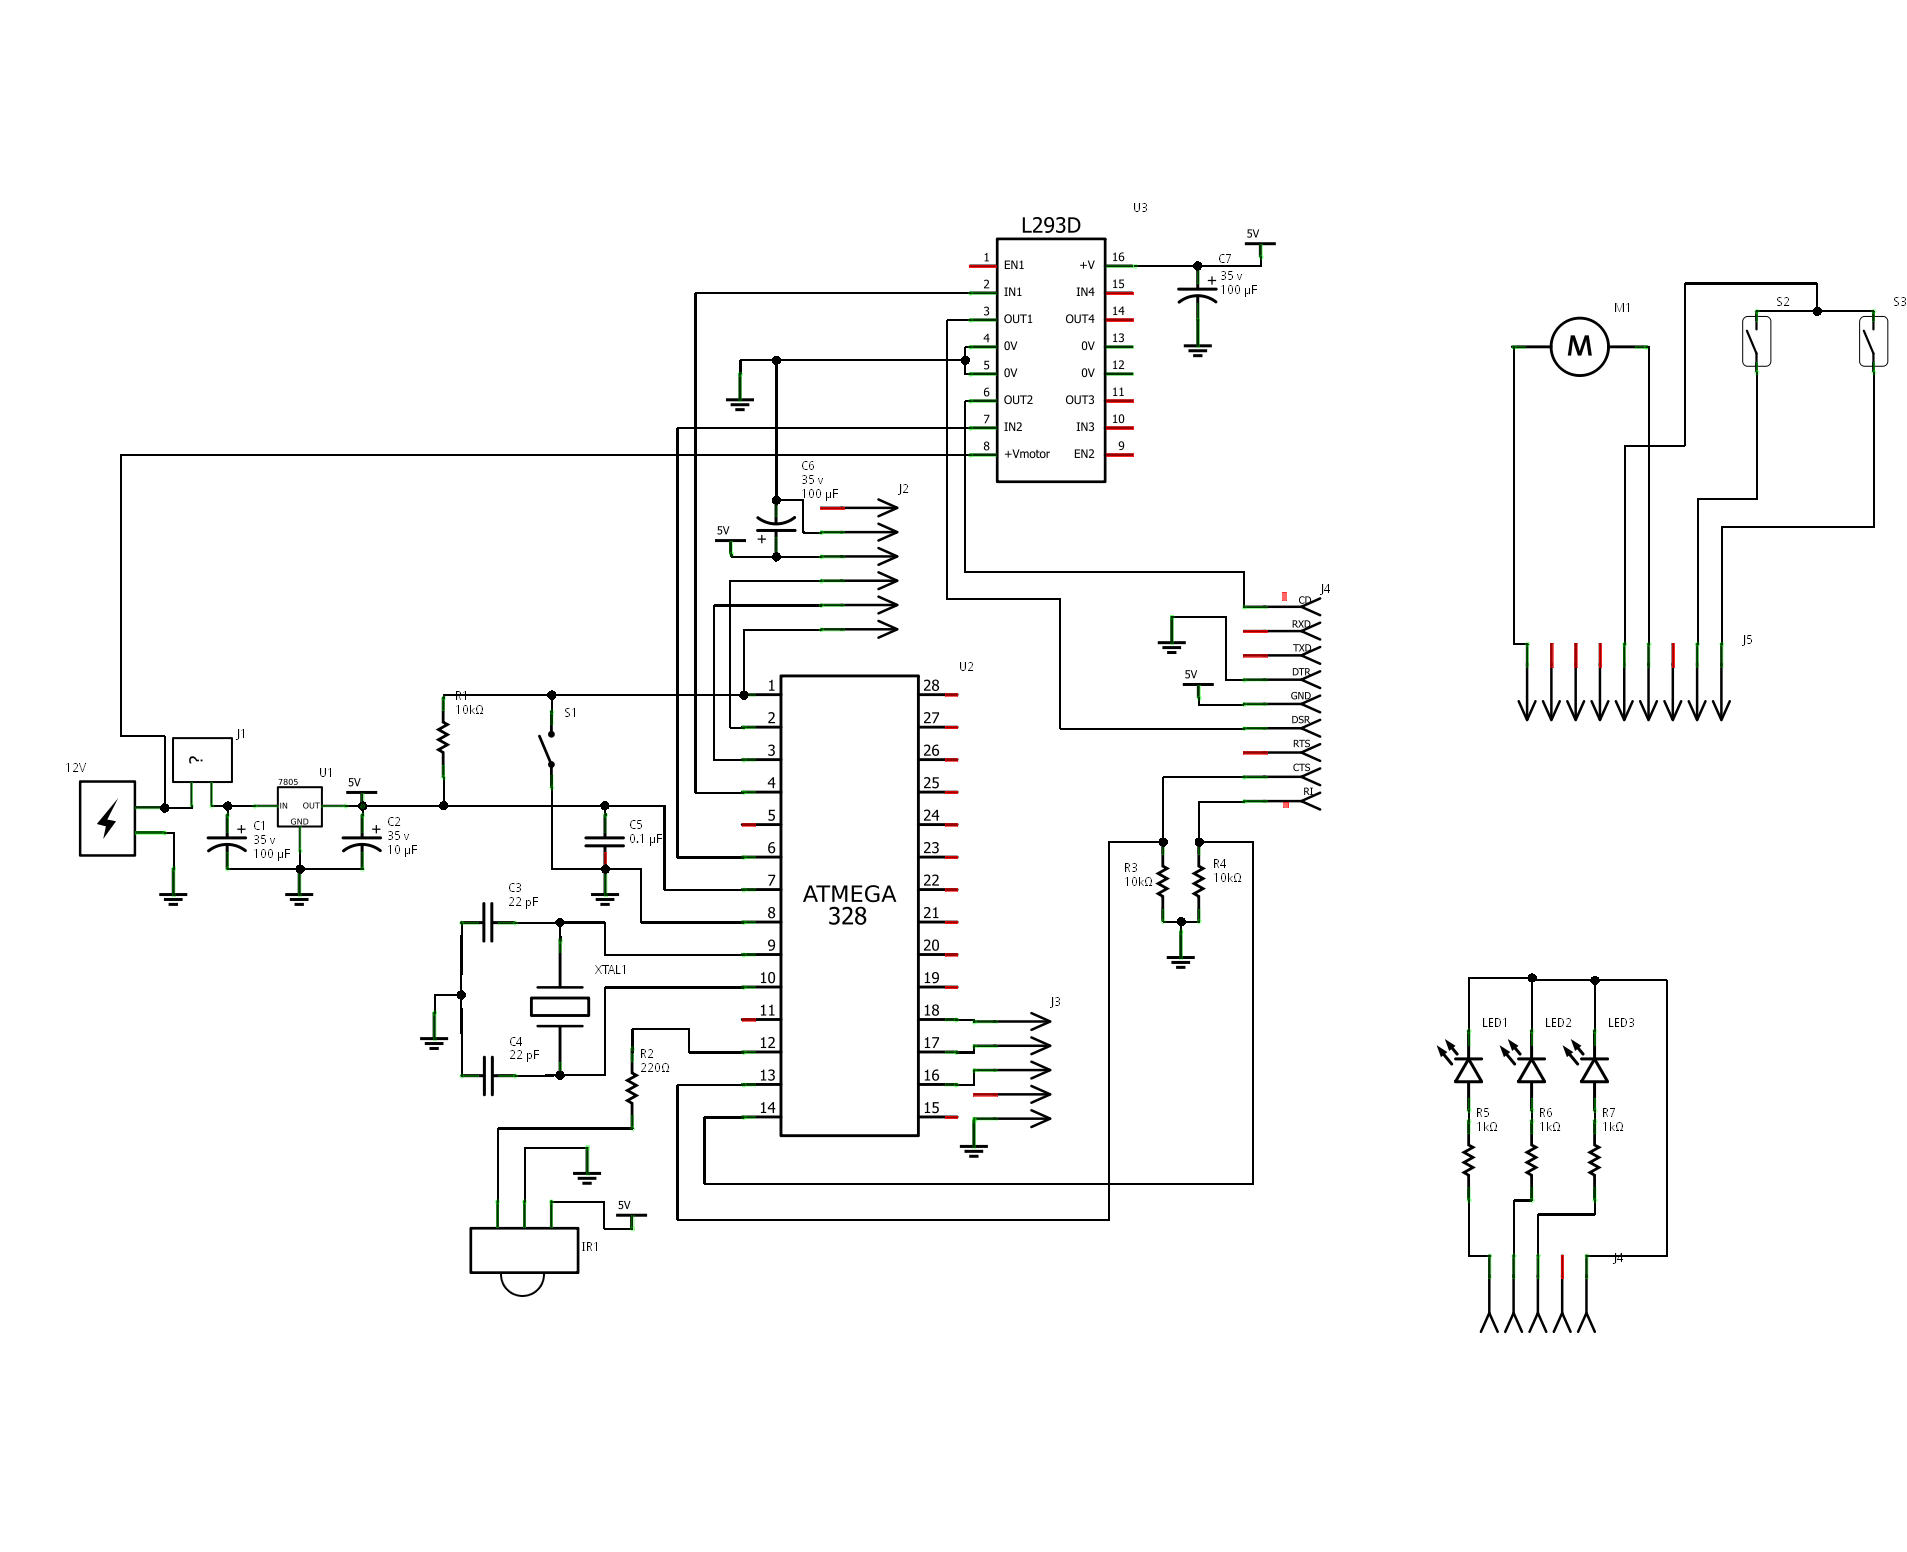
Description: The project is "Motorized Curtain" with Remote control. It is made up of MCU ATMEGA328 with Arduino BootLoader, motor driver L293D (I used L293B with external diodes, because I couldn't find L293D), IR Receiver TSOP 1738, DC Motor from an old printer and other small parts. To control it, I use IR remote control from a PixelView TV Tuner. The software allows moving the curtain from left to right and back, or on steps. More: On the last peg (of the curtain rail) is attached a small magnet, which interacts with the two reed contacts, placed on the two ends of the rail. The last peg is moved by a cord, which connects it to the motor on one side and a reel to the other. Source Code is written on Arduino. I use NECIRRcv Libraries for decode code from IR Remote Control.
The "Motorized Curtain" project utilizes an ATmega328 microcontroller, which serves as the central processing unit for controlling the curtain's movement. The microcontroller is programmed with the Arduino bootloader, allowing for easy programming and integration with Arduino IDE.
The motor driver employed is the L293B, which is a dual H-bridge driver capable of controlling the direction and speed of the DC motor sourced from an old printer. External diodes are added to the L293B to protect against back EMF generated by the motor, which is a common requirement when driving inductive loads.
The control mechanism is facilitated by an IR receiver, specifically the TSOP 1738, which is designed to receive signals from an IR remote control, in this case, a remote from a PixelView TV Tuner. The remote sends commands to the microcontroller, enabling the user to control the curtain's movement. The software developed for this project allows for the curtain to be moved smoothly from left to right and back, as well as in incremental steps.
To provide feedback on the position of the curtain, a small magnet is affixed to the last peg of the curtain rail. This magnet interacts with two reed contacts positioned at either end of the rail. When the magnet passes by a reed contact, it closes the circuit, signaling the microcontroller to stop the motor, thereby preventing over-travel of the curtain.
The last peg is mechanically linked to the DC motor via a cord, which also connects to a reel. This setup allows for effective movement of the curtain along the rail. The source code for the microcontroller is written in Arduino programming language, leveraging the NECIRRcv library for decoding the signals received from the IR remote control, thus enabling precise control over the curtain's operation.The project is "Motorized Curtain" with Remote control. It is made up of MCU ATMEGA328 with Arduino BootLoader, motor driver L293D ( i used L293B with external diodes, because i couldn't find L293D ), IR Receiver TSOP 1738, DC Motor from an old printer and other small parts. To control it, i use IR remote control from a PixelView TV Tuner. The software allows moving the curtain from left to right and back, or on steps. On the last peg (of the curtain rail) is attached a small magnet, which interacts with the two reed contacts, placed on the two ends of the rail. The last peg is moved by a cord, which connects it to the motor on one side and a reel to the other. Source Code is written on Arduino. I use NECIRRcv Libraries for decode code from IR Remote Control.
The "Motorized Curtain" project utilizes an ATmega328 microcontroller, which serves as the central processing unit for controlling the curtain's movement. The microcontroller is programmed with the Arduino bootloader, allowing for easy programming and integration with Arduino IDE.
The motor driver employed is the L293B, which is a dual H-bridge driver capable of controlling the direction and speed of the DC motor sourced from an old printer. External diodes are added to the L293B to protect against back EMF generated by the motor, which is a common requirement when driving inductive loads.
The control mechanism is facilitated by an IR receiver, specifically the TSOP 1738, which is designed to receive signals from an IR remote control, in this case, a remote from a PixelView TV Tuner. The remote sends commands to the microcontroller, enabling the user to control the curtain's movement. The software developed for this project allows for the curtain to be moved smoothly from left to right and back, as well as in incremental steps.
To provide feedback on the position of the curtain, a small magnet is affixed to the last peg of the curtain rail. This magnet interacts with two reed contacts positioned at either end of the rail. When the magnet passes by a reed contact, it closes the circuit, signaling the microcontroller to stop the motor, thereby preventing over-travel of the curtain.
The last peg is mechanically linked to the DC motor via a cord, which also connects to a reel. This setup allows for effective movement of the curtain along the rail. The source code for the microcontroller is written in Arduino programming language, leveraging the NECIRRcv library for decoding the signals received from the IR remote control, thus enabling precise control over the curtain's operation.The project is "Motorized Curtain" with Remote control. It is made up of MCU ATMEGA328 with Arduino BootLoader, motor driver L293D ( i used L293B with external diodes, because i couldn't find L293D ), IR Receiver TSOP 1738, DC Motor from an old printer and other small parts. To control it, i use IR remote control from a PixelView TV Tuner. The software allows moving the curtain from left to right and back, or on steps. On the last peg (of the curtain rail) is attached a small magnet, which interacts with the two reed contacts, placed on the two ends of the rail. The last peg is moved by a cord, which connects it to the motor on one side and a reel to the other. Source Code is written on Arduino. I use NECIRRcv Libraries for decode code from IR Remote Control.
Xbee doorbell project
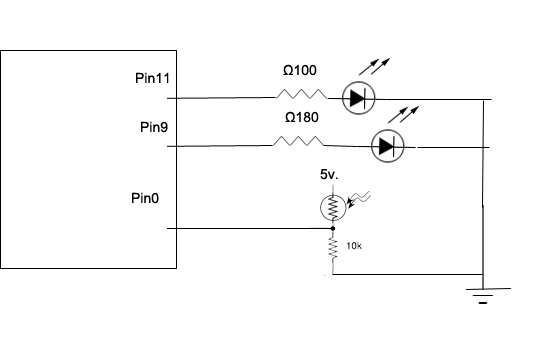
When the start button is pressed, the Arduino selects a random 4-digit code and flashes lights to indicate the code. If the user successfully repeats the code using the other buttons, the XBee module sends a message to another XBee...
DC Motor Tutorial
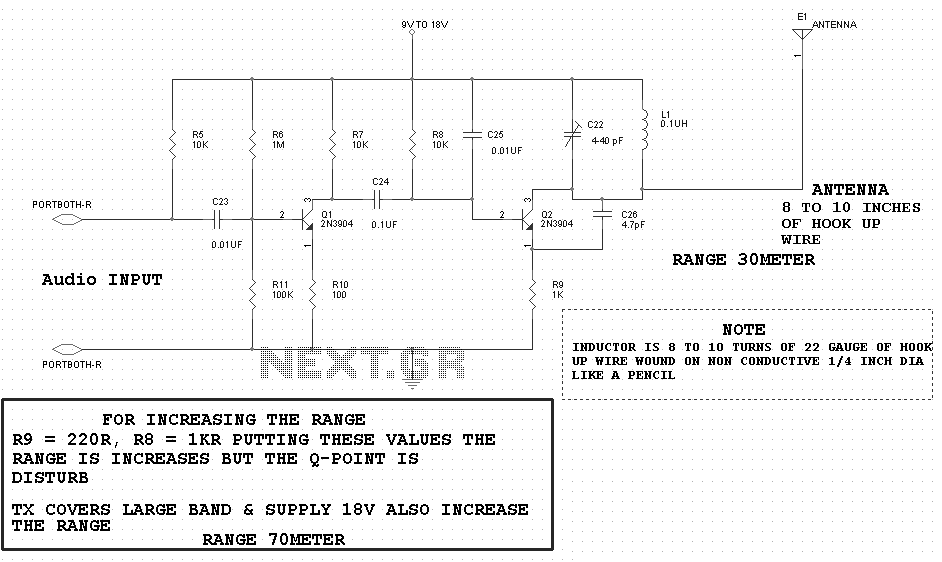
A DC motor operates by converting electrical power into mechanical work. This process involves passing current through a coil, which generates a magnetic field that causes the motor to spin. One method to adjust the speed of a DC motor...
Robot shield for Arduino
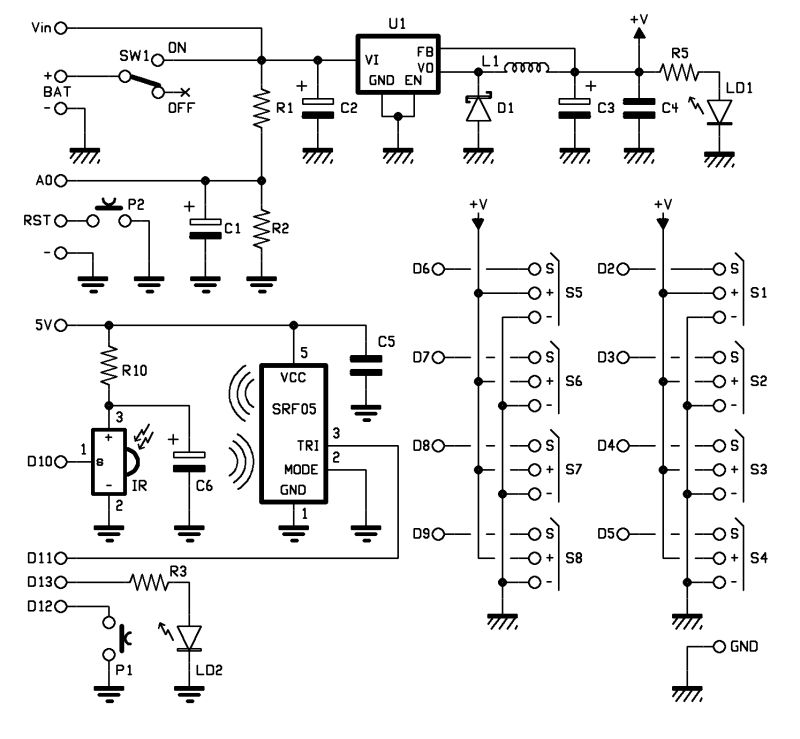
The objective of this post is to consolidate various robot designs and transform them into a new device featuring updated hardware and standardized software, specifically using Arduino, to enhance usability. These robots share three common elements: a mechanical structure, hardware,...
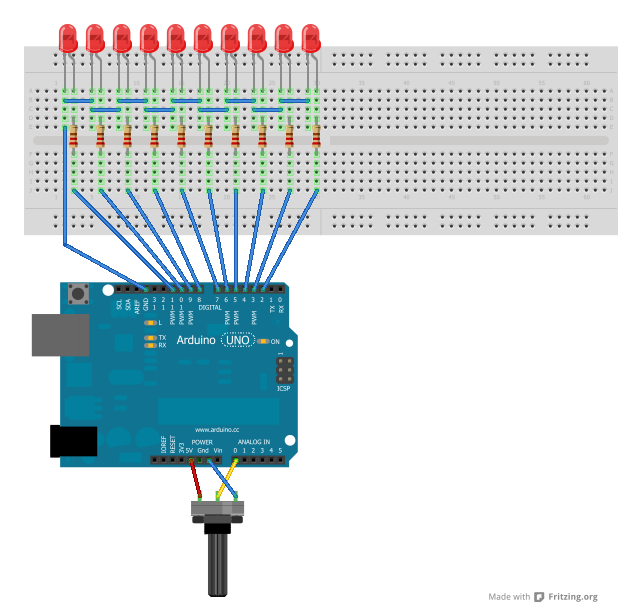
The Cylonduino Arduino Experiement
A significant amount of extra hours has been dedicated to work in anticipation of an editing deadline. Despite this, it is deemed appropriate to attempt some hardware hacking. An interest in electronics has existed since before the advent of computers,...
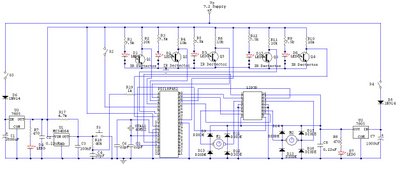
Maze Robot
After completing the robot for the competition, updates to the blog were paused due to disappointment over not finishing the robot on time. An update on the progress made thus far is being provided. The motor driver was changed because...
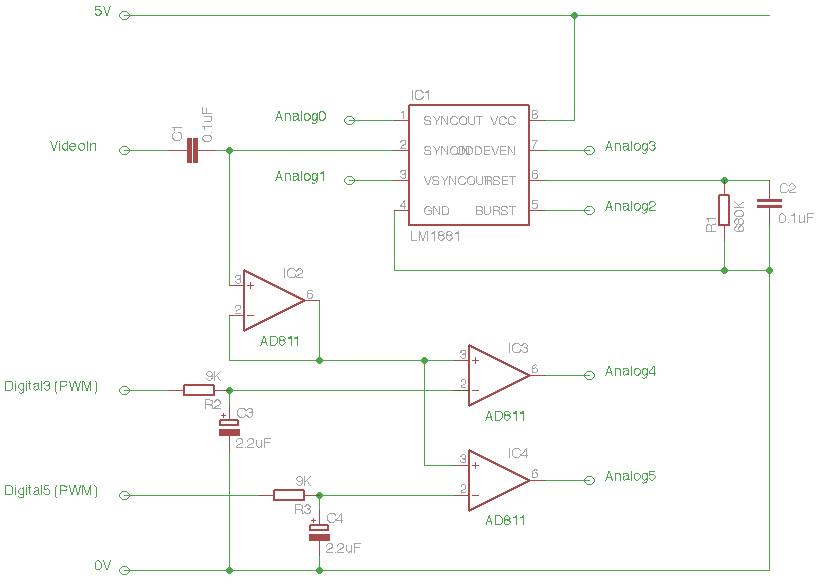
Arduino Eye Shield
The Arduino Eye Shield is a circuit board that can be plugged on top of the Arduino, enabling it to interpret analog video (PAL or NTSC) from a camera or other source. This provides the Arduino with visual capabilities, allowing...
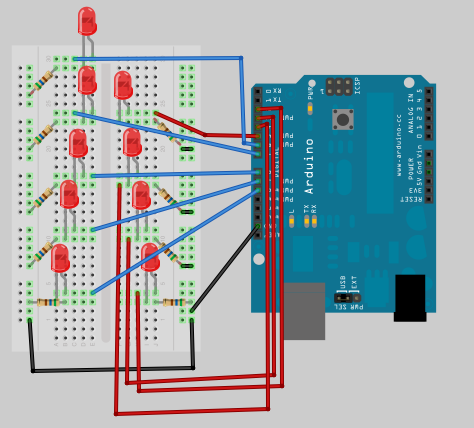
Arduino Flashy Christmas Lights Ornaments
This is the next part in the Arduino learning series, focusing on the use of arrays to create a small Christmas tree ornament with various flashing sequences. This project is suitable for engaging children in basic soldering skills—simply mount the...

Pong Game Console
A simple game console was created to play Pong and other games using Atari 2600 joysticks. The Arduino processes joystick inputs and outputs the data to a TV using the TVout library. The project was designed to demonstrate that anyone...
Wifi Robot
A remote control car can be operated over the internet or wirelessly from a laptop up to 500 meters away. It features a live-feed network camera for driving without line of sight and a horn for signaling. The project utilizes...