
Simple 3-6V LED Flasher
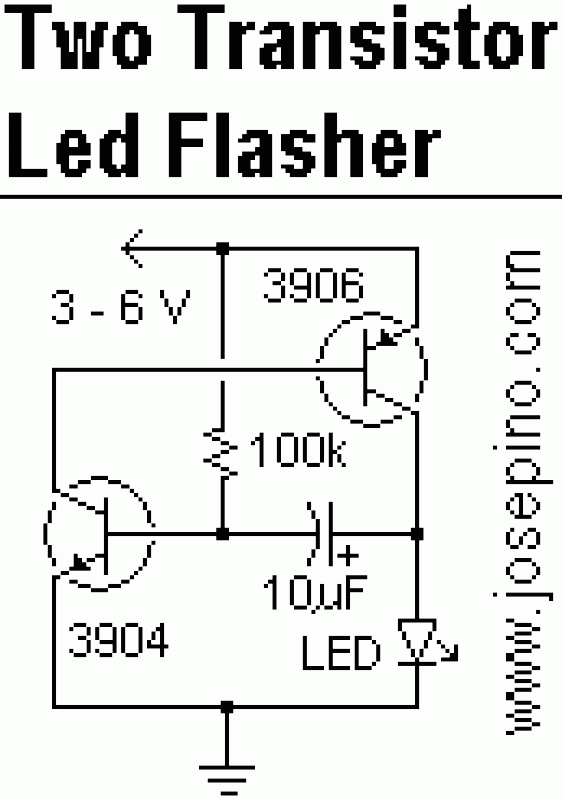
The described LED flasher circuit utilizes a combination of two transistors, a capacitor, and three resistors, forming a basic astable multivibrator configuration. The NPN transistor (2N3904) is responsible for switching the PNP transistor (2N3906), which controls the LED. In this configuration, the capacitor is charged through a resistor, and once it reaches a certain voltage, it turns on the NPN transistor. This action allows current to flow to the base of the PNP transistor, turning it on and illuminating the LED.
When the PNP transistor is activated, it discharges the capacitor, which subsequently causes the NPN transistor to turn off as the base current is interrupted. This cycle of charging and discharging creates a flashing effect for the LED. The frequency of the flashing can be adjusted by varying the resistor and capacitor values in the RC timing circuit.
The circuit is powered by a 3V lithium coin battery, which provides a compact power source capable of sustaining operation for several hours. This design is particularly advantageous for applications requiring minimal size and weight, as it avoids the use of bulky components. Compared to commercially available LED flashers that may incorporate integrated circuits within the LED housing, this discrete component design is often more cost-effective while maintaining functionality.
Overall, this simple LED flasher circuit serves as an excellent platform for learning about transistor switching and timing circuits, making it suitable for various applications beyond basic flashing lights.If you are familiar with LED flashers using transistor, you may know the basic one uses two transistor, one capacitor and three resistors. There is other kind of oscillator called "flip-flop". As I'm starting to develop some basic circuits, I need a simple LED flasher that can be used in many other applications.
The RC circuit is connected to the base of the NPN transistor (3904) and it gives the signal to the PNP transistor (3906) to turn on the LED. When the PNP transistor is ON, it discharges the capacitor and it turn off itself, so the cycle repeats again.
While cleaning "the attic" a few weeks ago, I found this old project. This one uses the same circuit. It was made in 1996 or 1997. A 3 Volts lithium "coin" battery provides power up to 4 hours. The idea of this one was to get a flashing light without bulky or heavy parts. Regardless there are some LED flashers on the market, A LED with integrated circuit inside the acrylic, the cost is higher than this circuit in some cases.
🔗 External referenceRelated Circuits
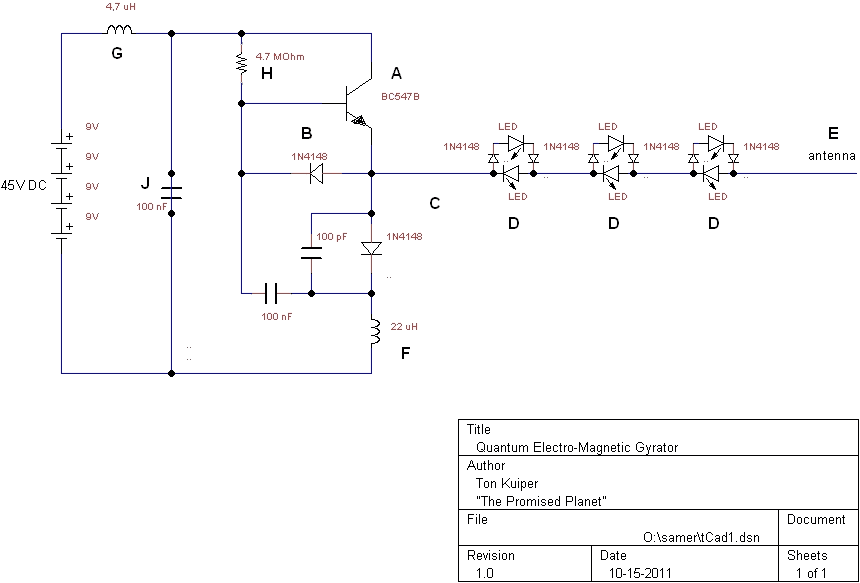
An electrician and businessman named Ton Kuiper has invented a circuit that is claimed to produce longitudinal waves, along with many effects similar to those of Nikola Tesla's technology, while being powered solely by a few nine-volt batteries. A...

This is a programmable clock timer circuit that utilizes individual LEDs to signify hours and minutes. Twelve LEDs can be arranged in a circular formation to represent the 12 hours of a clock face, while an additional 12 LEDs...
The LED guard-rail tube, also known as the decorative tube, is an advanced LED illumination product designed for decorative purposes. It utilizes red, green, and blue LEDs as light sources, employing microelectronics and digital technology to create color chasing...

Logic-1 and logic-0 represent the states of digital signals, where logic-1 corresponds to a high voltage close to Vcc, and logic-0 corresponds to a voltage near neutral or ground. Logic-0 cannot be transformed into logic-1, while logic-1 can revert...

Occasionally, there is a requirement to create a very basic oscillator. The circuit illustrated here is remarkably straightforward, utilizing only three components. The described oscillator circuit typically consists of a resistor, a capacitor, and a single transistor. The operation of...
New design techniques in LED driver circuits promise to deliver significant energy savings that will help TV manufacturers meet stringent power consumption requirements. The advancement of LED driver circuits through innovative design techniques has the potential to yield substantial energy...
Warning: include(partials/cookie-banner.php): Failed to open stream: Permission denied in /var/www/html/nextgr/view-circuit.php on line 713
Warning: include(): Failed opening 'partials/cookie-banner.php' for inclusion (include_path='.:/usr/share/php') in /var/www/html/nextgr/view-circuit.php on line 713