
A little glowing Halloween ghost

The LED should be wrapped in bubble foil, ensuring that ample foil is positioned in front of the LED lens while minimizing the amount behind it. For effective diffusion, the light must pass through multiple layers of bubbles and plastic foil. The kit includes a black plastic sticker from which two eyes and a mouth can be cut out. This allows for the creation of a friendly round face or a more frightening design featuring sharp edges, such as triangular eyes and a zigzag mouth. A white plastic foil is unfolded on the floor, with a neat hole cut in the center for the gray cables from the LED to pass through. The eyes and mouth stickers are then peeled off and affixed to the foil slightly below the center. The LED, encased in the bubble foil ball, is positioned so that the gray cable runs through the center hole of the white foil, allowing the white foil to hang down like a long coat over the bubble foil ball. The ghost is now ready for testing.
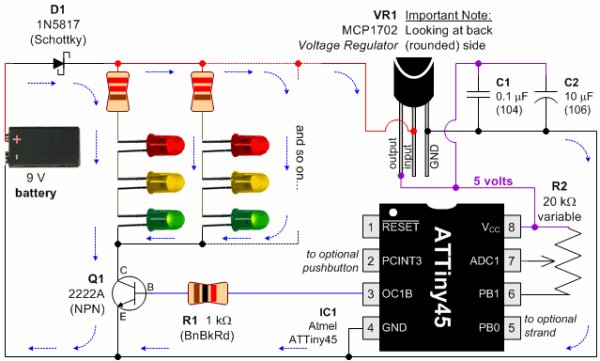
It is crucial to never connect an LED directly to a power supply. The kit includes a 27-ohm resistor (color code: red, purple, black), which must be connected in series with the LED. Specifically, one wire from the LED connects directly to the power supply, while the other wire connects to one end of the resistor, with the other end of the resistor going to the power supply. A voltage of approximately 5V is required. Three AA batteries can be connected in series (connecting the positive terminal of one battery to the negative terminal of the next) by soldering short wires to the battery ends. Prior to soldering, the metal surfaces of the batteries should be cleaned with sandpaper. Care should be taken to heat the metal ends of the battery only briefly to avoid damaging any internal plastic insulation. The three batteries can be secured together with tape to form a 4.5V battery block.
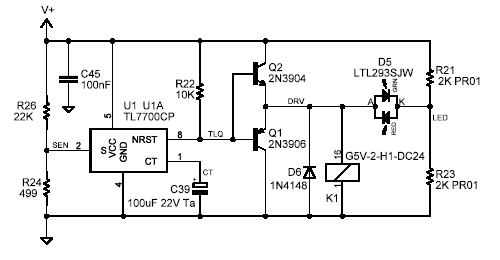
Polarity is essential for the LED; if it does not light up, the wires should be swapped. The correct polarity is confirmed when the LED lights up. It is advisable to mark one of the LED wires to indicate which is positive and which is negative, using a felt tip or a small sticker from the black sticker foil. This marking will be useful later when connecting the ghost to the blinking circuit. The provided software features two modes: one "glowing" mode, where the LED dims up and down continuously, and a "flashing pulse" mode, where the LED emits several short pulses followed by pauses before flashing again.This glowing Halloween ghost is available as a kit from the tuxgraphics online shop. It can glow friendly or it can produces scary flashes. You can choose your own face and make a friendly ghost or a scary moster. We wrap a very bright white LED in bubble padding foil. This foil will diffuse the light. Using transparent adhesive tape the bubble fo il is wrapped up and forms a little ball. A litte bit smaller than a tennis ball. This little ball is the head of the ghost. The basic "glowing ghost kit" contains the basic parts to build the ghost. The included white LED produces a very bright white light. In addition to this kit we need the atmega8 microcontroller and some batteries or a little DC power supply, 4. 5V to 5. 5V (Ericsson mobile phone chargers provide 5V DC). The atmega8 for the "glowing ghost kit" comes pre-loaded with software. You can however also take a plain atmega8 microcontroller and load it yourself with software. The software is available in the download section at the end of this article. For loading the software you will need a programmer like the avrusb500 from tuxgraphics. If you have the programmer hardware and you load the software yourself then you can also modify the software and invent your own blinking patterns.
The software uses PWM (puls width modulation) to control the intensity of the light. The LED can be dimmed to any level and it can flash at any brightness level. It is just a matter of changing the software. Wrap the LED in bubble foil. Try to fold the foil such that there is a lot of foil in front of the lens of the LED and not so much foil behind the LED. Remember the light needs to be defused by the foil for this to be effective the light has to go through several layers of bubbles and plastic foil.
The kit includes a black plastic sticker. Cut two eyes and the mouth out of that sticker. You can make a nice and friendly round face or you can make a more scary one with sharp edges (e. g triangular eyes and a zick-zack shaped mouth). Unfold the white plastic foil on the floor and cut a tidy hole into the center. The gray cables from the LED will go through that hole. Peel the eyes and mouth stickers off and stick them onto the foil slightly below the center. Now take the LED with the bubble foil ball. Run the gray cable into the center hole of the white foil such that the white foil will hang like a long coat over the bubble foil ball. Our ghost is ready. You can now test it. Remember never connect an LED directly to the power supply! The kit included a 27 Ohm resistor (color code: red, purple, black). This resistor needs to be used in series with the LED. That is: one wire of the LED goes directly to the power supply the other one connects to one end of the resistor and the other end of the resistor goes to the power supply.
You need about 5V. You can connect 3 AA-Batteries in series (connect plus of one battery to minus of the next) by soldering some short wires to the ends of the batteries. Use a bit of sand paper to scratch and clean the metal surface of the battery before you solder a wire to it.
Heat the metal ends of the battery only for a short moment otherwise it is possible that you damage any internal plastic insulation inside the battery. Wrap the 3 batteries together with tape and you have a 4. 5V battery block: For the LED the polarity is important. If it does not light up then swap the wires. You have found the right polarity when the LED lights up. Note which of the LED wires is plus and which is minus. Mark one of them with a felt tip or a little sticker from the black sticker foil. Later when we connect the ghost to the blink circuit we need to know which one is plus and which one is minus.
The software provided here has two modes: one "glowing" mode where the LED is dimmed up and down continuously and one "flashing puls" mode where the LED flashes with a few short pules and the pauses before it flashes again. 🔗 External reference
Related Circuits
If a complete circuit is needed, there are thousands of these circuits available in the designs. Some of them can be provided easily, but further communication is required. The request indicates a need for a comprehensive circuit design, which may...
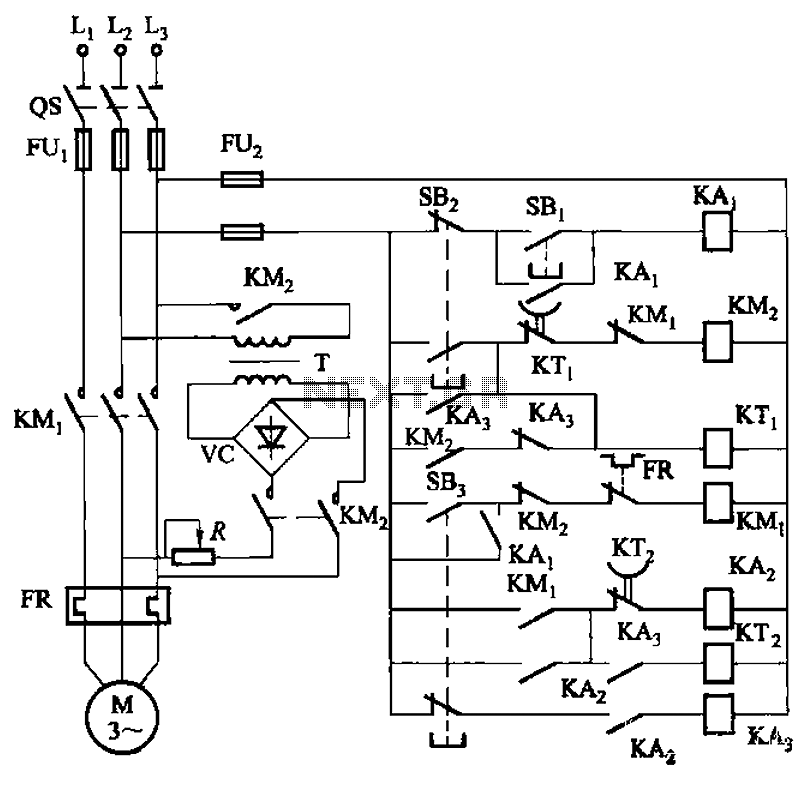
The circuit depicted in Figure 3-143 demonstrates a braking mechanism for a motor that operates effectively during normal shutdown and jog operations. The circuit includes several components, such as the start button (SBz), stop button (SBz), and jog button...
Halloween is coming up and it's time to do some pranks. Everyone likes Halloween and I'm no exception. Every year me and my wife decorate the house with lots of bugs, spider webs, creepy posters and of course lots...
Discrete blinking LEDs are convenient, but the blink rate and duration are not configurable. Experimentation with transistors, resistors, and capacitors was attempted to modify the blinking LED behavior. Ultimately, the abundance of additional electronic components led to the conclusion...

The circuit consists of two fundamental components: the oscillator and the detector. The oscillator employs a Field Effect Transistor (FET) in a Colpitts configuration. The energy circulating within the oscillator's tank is coupled through capacitor C4 to the detector...
This unique amplifier was designed and built for the European Triode Festival in 2007, focusing on "White Light" amplifiers that utilize thoriated tungsten tubes. Due to the impracticality of transporting a large tube amplifier from the US to Europe,...