
Arduino Differential Controller
The DS18B20 temperature sensor is a digital thermometer that utilizes a one-wire interface, allowing multiple sensors to be connected to a single data line. This feature is particularly useful in applications where multiple temperature readings are necessary, such as in aquaculture or HVAC systems. The waterproofing method described involves careful preparation of the sensor and its connections to ensure reliability in wet environments.
To implement this waterproofing method, it is essential to use high-quality solder and ensure that the connections are secure and well-formed to prevent any potential failure points. The choice of heat shrink tubing is critical; it should have an appropriate shrink ratio to create a snug fit around the sensor and wires. Additionally, the use of silicone sealant can further enhance the waterproofing by filling any gaps and providing an extra layer of protection against moisture ingress.
When soldering, it is recommended to use a soldering iron with a fine tip to achieve precision in applying solder to the small wires of the DS18B20. The application of heat should be controlled to avoid damaging the sensor or the insulation of the wires. After soldering, a cooling period is necessary to ensure that the solder joint is solid before manipulating the wires further.
For the heat shrink application, it is advisable to use a heat source that provides even heating. A heat gun is ideal for this purpose, as it allows for controlled application of heat without the risk of burning the material. When using a lighter or torch, care must be taken to maintain a safe distance from the heat shrink to prevent overheating and damaging the sensor or insulation.
Overall, this waterproofing technique, while effective for short-term applications, may not be suitable for long-term submersion. For extended use in aquatic environments, alternative methods such as encapsulation in resin or the use of commercially available waterproof temperature sensors should be considered to ensure long-term reliability and performance.I experienced faulty DS18B20 reads on my tank thermometers, probably due to my heatshrink/silicone waterproofing method. It gave me a chance to improve my code to make the controller more tolerant of bad reads, but my tank thermometers have now been replaced with waterproofed DS18B20 probes, which are very cheap on ebay.
it is NOT reccommended that you use the following method if you intend to fully submerge the thermometer for long term, though it may work ok for a water resistant applications. I chose to solder the thermometers directly to the signal wire, and then seal it all up with heat-shrink.
Prepare you cable with about 2" of exposed wire. Strip the ends about 3/8", and slip small heat-shrink over wires before soldering. Make sure the heat shrink is not too long so you don`t shrink it with the soldering iron heat. I used forceps to clip the wires to be soldered together. This also acts as a heat sink so the wire insulation does not melt. Apply heat with the iron long enough so that solder can be applied directly to the wires. The wires should melt the solder, not the iron. Give the solder several seconds to cool before removing clip. After all pins are soldered, very carefully straighten them and slip the heat-shrink fully over the exposed wire. I used a blow torch to shrink the heat-shrink. If you don`t have a heat-gun and choose to do it the wrong way like me, do not put it directly in the flame.
You want to warm it up, not burn it up. Be carefully, and if it starts smoking, your applying too much heat. Move the wire around briskly and turn it to shrink all sides evenly. A very hot hair dryer might work as a make-shift heat gun. My wifes didn`t seem to be hot enough though. Slip a piece of larger heat shrink over the thermometer, all the way to the cable. Pick a diameter that is just big enough to slip over the thermometer. This should make it a nice, tight seal once it shrinks. Shrink it. I made this piece long enough that there was extra material beyond the thermometer. I then heated it with a lighter, and squeezed it together to further seal it off. 🔗 External reference
Related Circuits
Build a large dancing robot. This was intended to be a walking robot, but it ended up moving in a more rhythmic manner. A video is available in the last step. The project involves the construction of a large dancing...

This project is a microcontroller-based college automation system aimed at addressing the challenges faced in educational institutions. It replaces the conventional notice board with an automated device that allows users to both hear and read the information being announced...
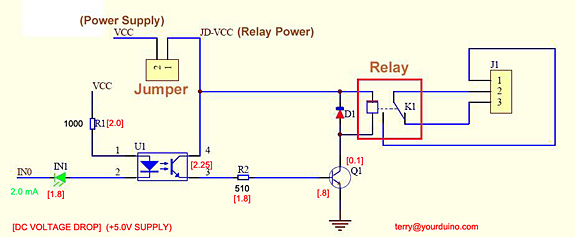
Control a relay from an Arduino-compatible board. When attempting to activate the relay from the Arduino, it takes at least a second to close, and sometimes it does not close at all. Digital pin 2 of the Arduino is...
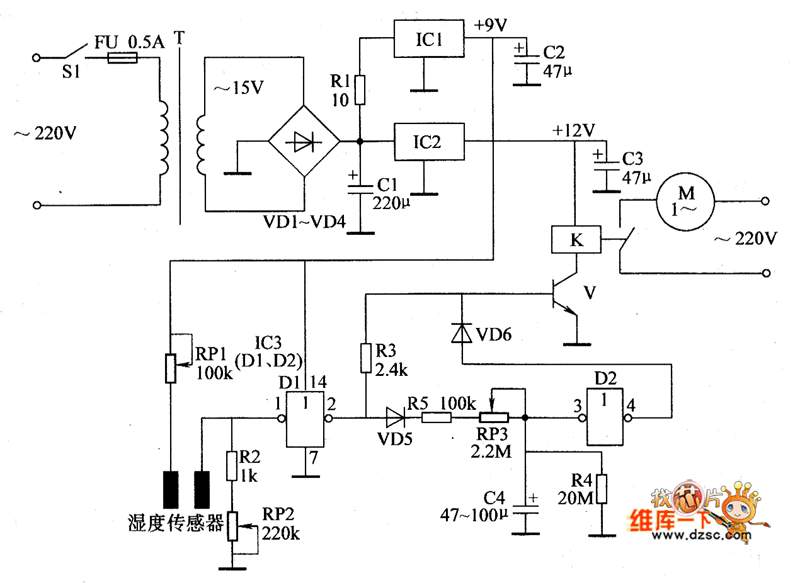
The automatic sprinkler controller circuit consists of a power supply circuit and a humidity measurement and control circuit, as illustrated in the accompanying figure. The power supply circuit includes a power transformer (T), rectifier diodes (VD1 to VD4), filter...
H-Bridge circuit utilizing transistors for the bidirectional control of a DC motor. Integrated circuits (ICs) containing H-Bridges are employed to simplify the drive circuit. The L293D is a dual H-Bridge motor driver, allowing for the control of two DC...
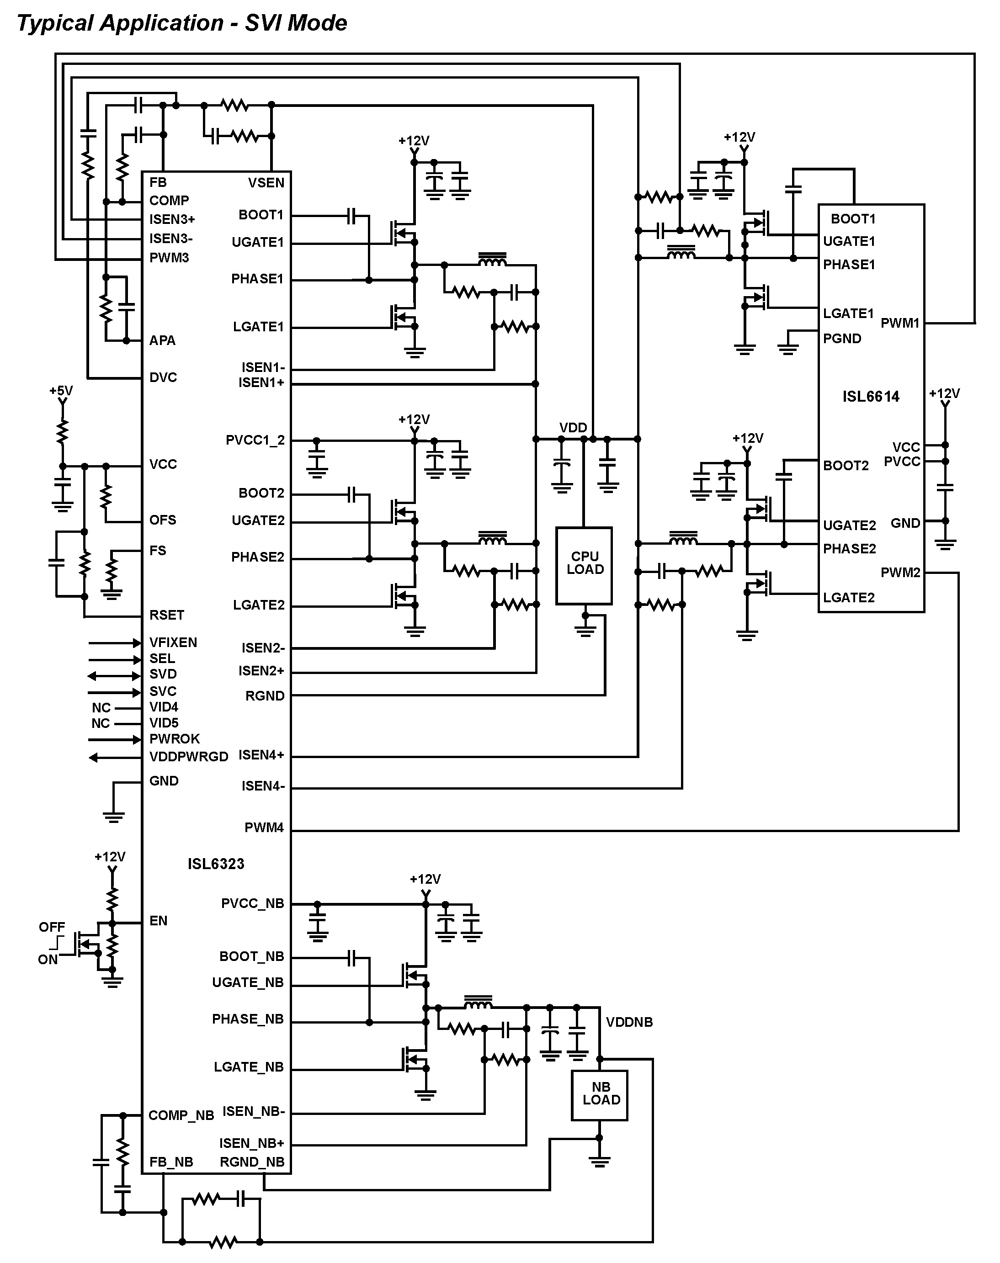
The ISL6323 dual PWM controller provides high efficiency and precise regulation through two synchronous buck DC/DC converters. It supports hybrid power control for AMD processors, operating via either a 6-bit parallel VID interface (PVI) or a serial VID interface...