
Arduino powered GLCD (Graphic LCD)
")
The use of a Graphic LCD (GLCD) provides a versatile solution for displaying complex information beyond simple numeric outputs. The GLCD can render a variety of characters, graphics, and animations, making it suitable for applications requiring a more dynamic interface. The typical connection involves multiple data and control lines, which necessitate careful soldering and wiring, particularly when using a Mega board, as the pin configuration differs from that of an Arduino Uno.
When integrating the GLCD, it is essential to follow the wiring diagram provided in the library manual to ensure proper connections. The library’s capability to detect the type of board automatically simplifies setup, but understanding how to manually assign display pins can be beneficial for custom configurations. The GLCD operates by retaining displayed information until it is explicitly changed, allowing for efficient updates without the need for constant refreshing. This feature is particularly useful in applications where static information is displayed for extended periods.
Attention must be given to how new data is written to the display. Overwriting existing content can lead to visual artifacts if the new data does not fully cover the old data, especially when different font sizes are used. For troubleshooting, the glcdDiag function provides a straightforward method to diagnose communication or wiring issues through the serial monitor.
In summary, the GLCD is a powerful tool for projects requiring enhanced display capabilities. Proper setup, including wiring and programming, is crucial for successful implementation, and the included library resources greatly facilitate development.Displays are always nice. So far I`ve just been demonstrating how to use 7-segmented displays to display numbers using very few resources. But what if you want to display text Or pictures Or both Well in order to do that, you`re going to need a simple LCD screen.
Now there are simple led screens out there right now which work on serial communic ation and only display text. That might be good enough for you, but I like flexibility. With a GLCD, I can use different fonts, show pictures, and even animations! What`s also really nice is that the GLCD I`m using is only $20. Granted, this is a little bit more involved to program and to get to work above the super easy Serial. print(Hello World ) commands. Heads up. There is going to be soldering. Also, to be clear, I am going to be using a Mega board. The wiring for the Uno is NOT THE SAME. But luckily, there is the wiring digram for that available in the provided manual in the GLCD library (next step).
The library should automatically detect what type of board that you have. However, you can override this manually and select certain ports to act as the display pins. This may or may not be useful to you. When ever you want to update the GLCD, you can access it with GLCD. [command]. Keep in mind that this does not need to be run all the time. The display will retain the information given to it until changed. When it does update it writes over what is on top, but it does not automatically clear anything. If you write over big font with smaller font, both will bevisiblebecause the new stuff did not fully displace the old. There is a lot of examples included with the library. If you are having trouble, run glcdDiag. It will run a diagnostic on the serial monitor and it might tell you what`s wrong. Be prepared for wires. Lots of wires. I made a jumper cable specifically for my device. You might not need it but it sure makes everything look a lot nicer. 🔗 External reference
Related Circuits
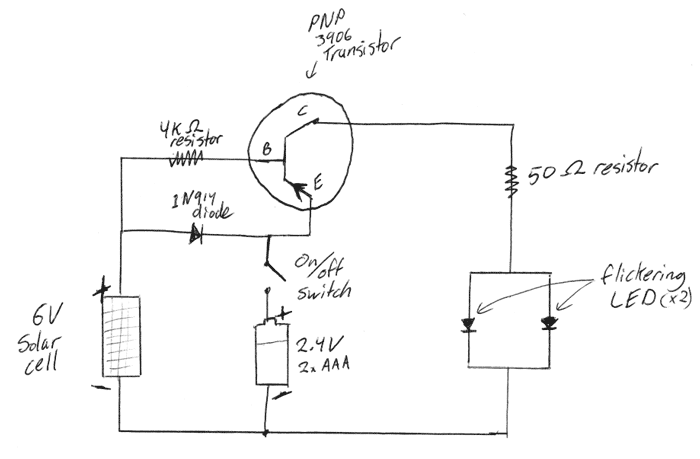
This is a DIY electronics project designed to enhance circuit design and building techniques. Copper lanterns were purchased and fitted with a circuit similar to outdoor solar lights. The circuit design is adapted from a simple design found on...
Connect three wires to the Arduino board. The first two, red and black, connect to the two long vertical rows on the side of the breadboard to provide access to the 5-volt supply and ground. The third wire goes...
The code implementation discussed in the previous post has been initiated. To improve organization, the code has been modularized into functions, simplifying the overall structure. It is available along with the other code. Challenges were encountered in calculating averages...

ATMega168 or ATMega328 microcontroller chip with Arduino bootloader (the one on your Arduino can be used temporarily) costs between $4.00 and $5.50. It is advisable to purchase an unbootloaded chip from Mouser for a lower price or a bootloaded...

The FT232RL USB to Serial UART (TTL) Adapter is an affordable and straightforward solution for connecting PIC, AVR, or ATMEGA microcontrollers to a PC or Mac via a USB interface. The FT232RL chip is noteworthy for its compliance with...
This document outlines the details of several circuits designed and built for a robot. The first circuit is a voltage regulator intended to supply power to a Raspberry Pi from a 7.2V battery. While the circuit is relatively simple,...