
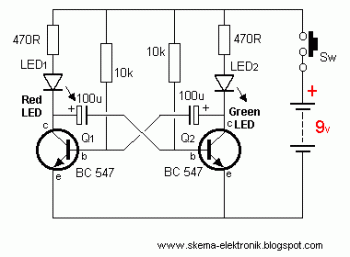
making led flash every 0 6 seconds

To design a circuit that makes an LED flash, a basic understanding of electronic components and their configurations is essential. The simplest method to achieve an LED flashing effect is by using a resistor, a capacitor, and a transistor in conjunction with the LED.
The circuit can be constructed using the following components:
1. **LED (Light Emitting Diode)**: This is the primary output component that will emit light when current flows through it. The LED should be rated for the desired voltage and current specifications.
2. **Resistor**: A current-limiting resistor is required to prevent excessive current from damaging the LED. The value of this resistor can be calculated using Ohm's law, based on the supply voltage and the forward voltage drop of the LED.
3. **Capacitor**: The capacitor will be used to store charge and control the timing of the LED flashing. The capacitance value will determine the duration of the flash and the interval between flashes.
4. **Transistor**: A bipolar junction transistor (BJT) or a field-effect transistor (FET) can be used as a switch to turn the LED on and off. The transistor will be driven by the capacitor, allowing it to control the flow of current to the LED.
The circuit operates by charging the capacitor through the resistor. Once the capacitor reaches a certain voltage, it activates the transistor, allowing current to flow through the LED, causing it to light up. As the capacitor discharges, the voltage drops, turning off the transistor and extinguishing the LED. This cycle repeats, creating a flashing effect.
To implement this circuit, the following steps should be taken:
1. Connect the resistor in series with the LED to limit the current.
2. Connect the capacitor in parallel with the LED and resistor.
3. Use the transistor to control the LED; connect the base of the transistor to the junction between the resistor and capacitor.
4. Ensure that the power supply voltage is appropriate for the LED and that the components are rated for the expected operating conditions.
By adjusting the values of the resistor and capacitor, the flashing rate of the LED can be modified to achieve the desired effect. This simple circuit can serve as a foundational project for understanding basic electronic principles and components.Tweet Hey guys, I have a question about electronics. One project ive been intending to do is something simple: make a circuit which makes an LED flash .. 🔗 External reference
Related Circuits

Here is a design for a temporary lamp circuit that is very helpful in emergency situations or in any application where there is limited time to turn off the lamp. Simply press the push button to perform a quick...
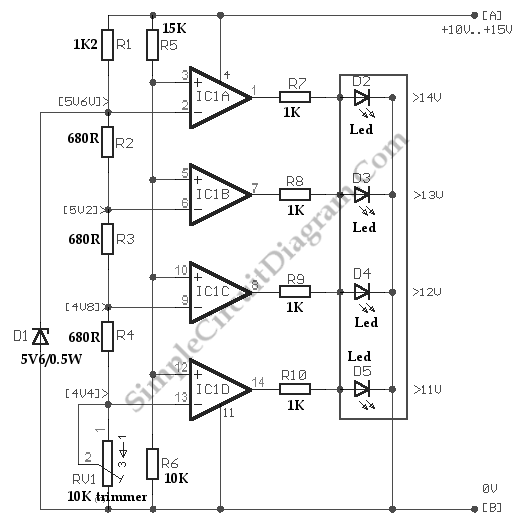
Below is a comparator circuit that can measure the voltage of a car battery in steps of 1 volt. The voltage indication is achieved through comparison. The comparator circuit designed for measuring the voltage of a car battery utilizes an...

Designs for audio amplifiers with DC coupling to the load are not frequently seen today, despite offering distinct advantages. Audio amplifiers that employ DC coupling to the load provide several benefits that can enhance performance in specific applications. In traditional...

This white LED driver circuit project utilizes the NCP5680 high-efficiency white LED driver integrated circuit (IC). The NCP5680 supports dual power flash LED and torch operations. Its built-in DC/DC converter employs a highly efficient charge pump structure with operating...

There are many applications where the accuracy of a digital or analog (bar graph) output is not necessary, but a solution that offers more than a simple low/high indicator is desirable. In various electronic applications, there exists a need for...
This circuit is designed to drive a total of 42 LEDs, assuming a forward voltage of approximately 2.2V per LED and a forward current of around 21mA for adequate brightness. If the specifications of the LEDs differ significantly, modifications...