
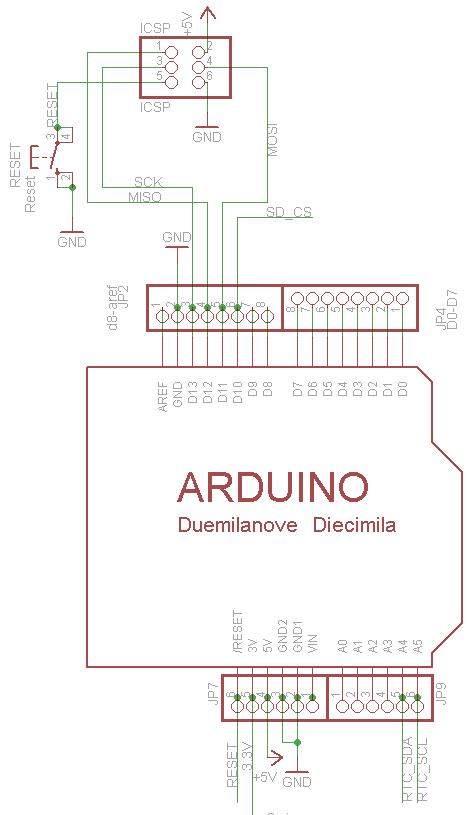
Modify an Arduino for DebugWIRE
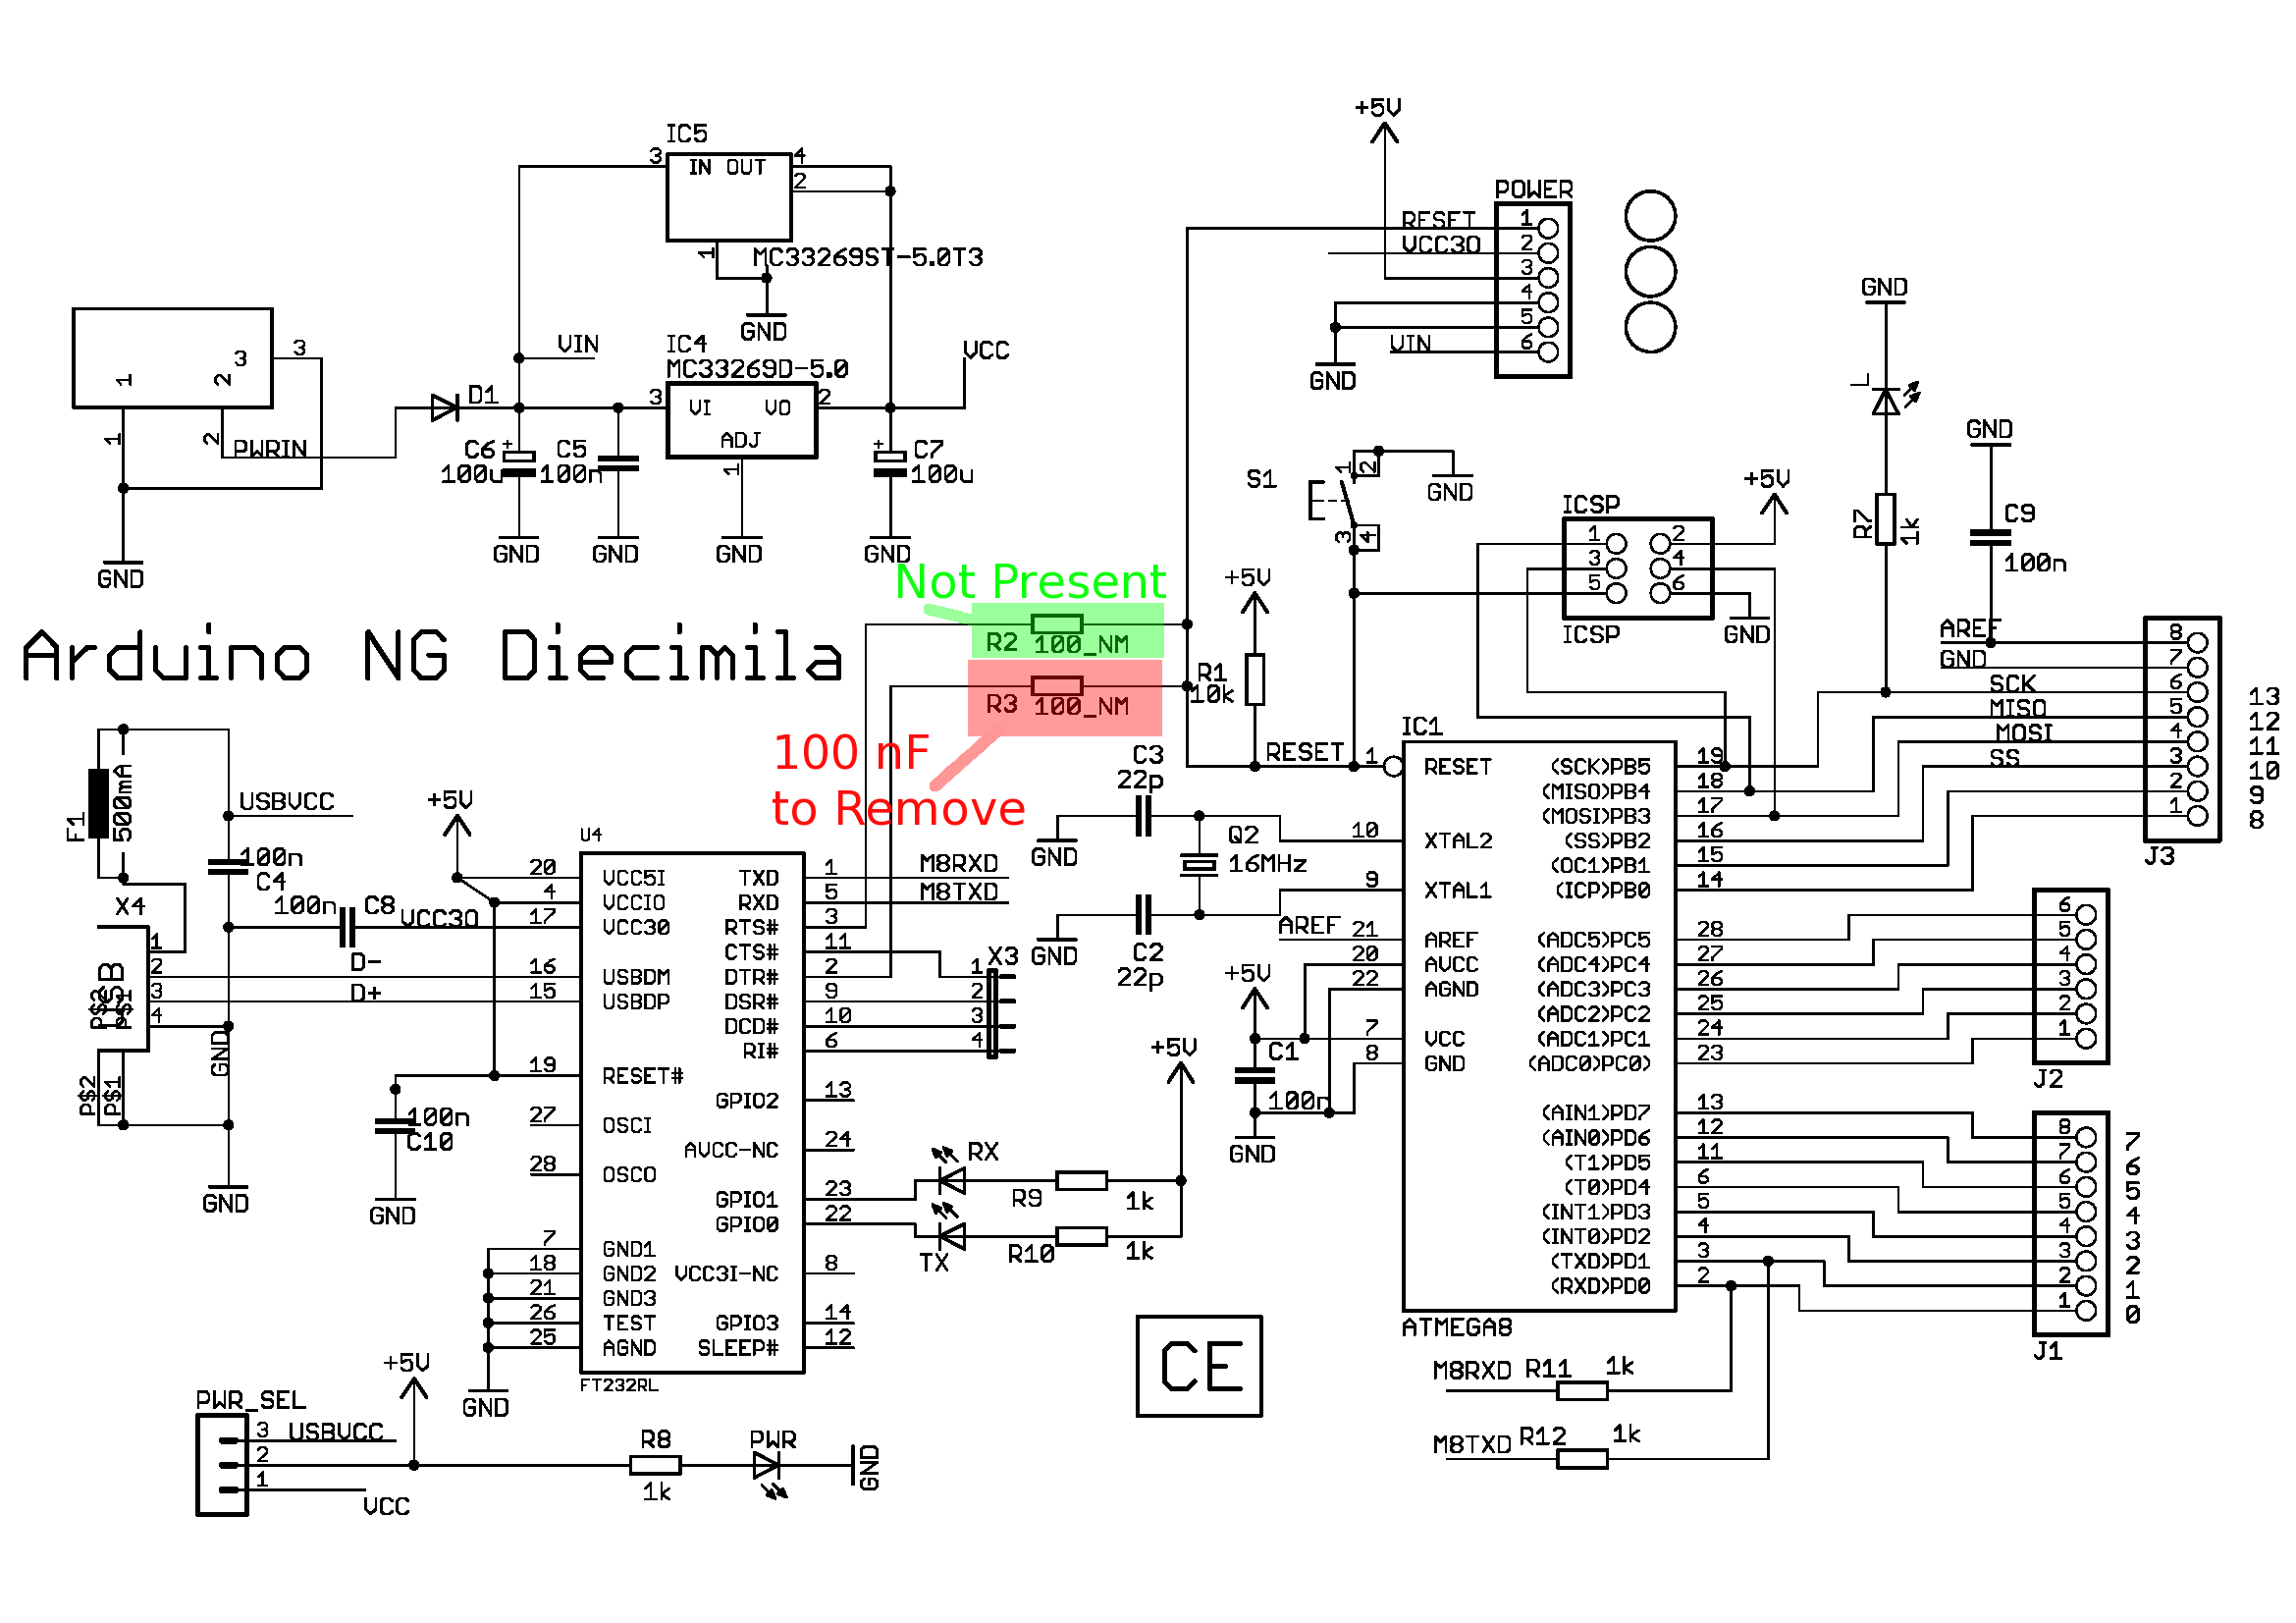
The Arduino platform has evolved significantly since the introduction of the Diecimila and Duemilanove boards. Modifying an Arduino board can enhance its functionality, particularly for debugging purposes. Debugging is essential for developers to identify and resolve issues in their code or hardware setup efficiently.
To modify an Arduino board for debugging, several steps and components may be involved. One common method is to add a serial debugging interface. This can be achieved by connecting a USB-to-serial converter to the Arduino's TX (transmit) and RX (receive) pins. This setup allows the user to send and receive debug messages from the Arduino to a computer, providing real-time feedback during code execution.
Additionally, incorporating an LED indicator can be beneficial. By connecting an LED to a specific digital pin, the board can visually signal different states or errors during operation. For instance, blinking patterns can indicate successful execution or errors, allowing for easier troubleshooting without needing to connect to a computer.
Another modification may involve adding a reset switch. This switch can help reset the Arduino without needing to unplug and replug the power supply, which can be particularly useful during the debugging process when frequent resets are necessary.
Overall, modifying an Arduino board to facilitate debugging involves careful consideration of additional components and their integration into the existing circuit. By employing these modifications, users can significantly improve their workflow and efficiency in developing and testing Arduino-based projects.This article talks about the Diecimila, but there is a newer article that talks about the Duemilanove Here`s a departure. Today I`m going to give a little instruction in how to modify an Arduino board so you can actually do something useful with it - like debug it.
But first, since my regular reader expects. 🔗 External reference
Related Circuits
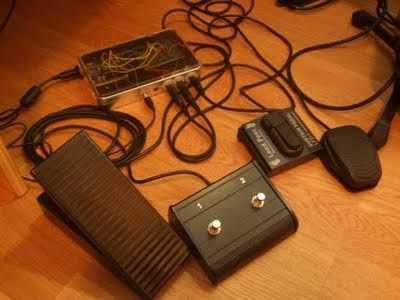
Build a Guitar Looper with an Arduino board. Here is how to produce a pedalboard for electric guitar. The idea is to connect pedals to the Arduino and to use them to control a software of sound processing in...
DAC stands for Digital to Analog Converter. This article explores the code created by Michael Smith for a PWM-based DAC. The code has been modified to allow for the testing of various DAC options. A comparison is made between...

The project addresses a brightness issue with the LED display. The original design using a 4017 counter was ineffective because it lacked the capability to turn off the display while updating the shift registers. Consequently, the decision was made...
This is part of a series titled "Getting Started with Arduino," a tutorial on Arduino microcontrollers. The first chapter is here, and the complete index is available as well. This week focuses on the concept of real-time and how...
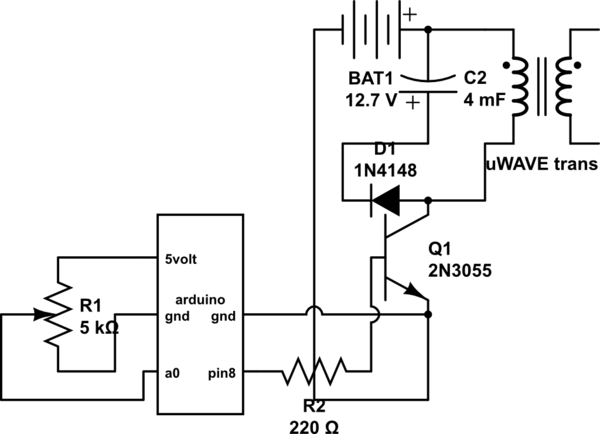
If both devices need to be powered from the battery, should the emitter be connected to the ground of the Arduino and the battery to prevent current from flowing through the Arduino ground, ensuring a clean pulse? Alternatively, can...
Here is a practical Arduino shield designed specifically for data logging. It has been engineered to be an affordable yet comprehensive solution. The design is user-friendly, allowing for easy assembly and customization, and it includes extensive documentation and libraries....
Warning: include(partials/cookie-banner.php): Failed to open stream: Permission denied in /var/www/html/nextgr/view-circuit.php on line 713
Warning: include(): Failed opening 'partials/cookie-banner.php' for inclusion (include_path='.:/usr/share/php') in /var/www/html/nextgr/view-circuit.php on line 713