
Water Drops circuit
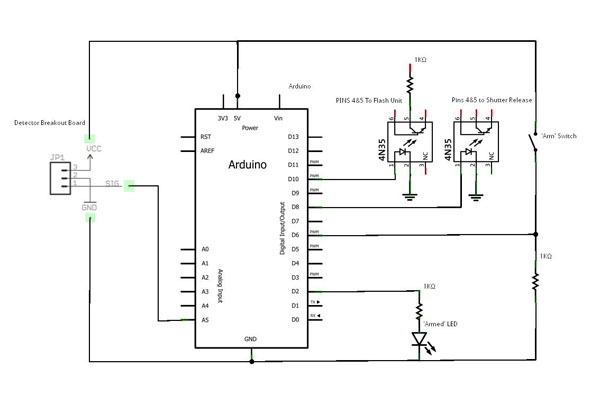
To construct a circuit for capturing water drops with precision, the following components are essential: an Arduino Microcontroller, a photogate sensor (such as a phototransistor or photodiode), a relay module or transistor for triggering the camera's shutter and flash, and a power supply. The photogate sensor will detect the falling water droplet and send a signal to the Arduino when the drop interrupts the light beam. The Arduino, programmed to recognize this signal, will then initiate a delay based on the configured settings before activating the relay or transistor to trigger the camera.
The circuit design will include connecting the photogate sensor to one of the digital input pins on the Arduino. The relay module or transistor will connect to a digital output pin, allowing the Arduino to control the power to the camera's shutter and flash. A potentiometer can be incorporated for manual adjustments if desired, although the primary control will be through the software interface on the computer.
The Arduino IDE can be used to write a program that continuously monitors the input from the photogate sensor. When a water drop is detected, the program will start a timer based on the user-defined delay. After the delay, the program will activate the output pin connected to the relay, triggering the camera's shutter and flash. This setup not only enhances the accuracy of the timing but also allows for experimentation with various delay settings to achieve the desired photographic results.
In summary, this project combines programming and electronics to create a sophisticated water drop photography setup. The use of an Arduino Microcontroller provides flexibility and precision, making it an ideal choice for enthusiasts aiming to capture stunning images of water drops in action. Proper safety measures must be adhered to throughout the process to prevent accidents and equipment failure.water drops. I`d always been drawn to time-lapse and macro photography, and it seems that the obiquitous water-drops are a common first step into this strange and wonderful photographic world. In researching it further however, it quite quickly became apparent that there would be more to this project that met the eye; the action takes place in a fraction of a second in a tiny space no
more than 18 inches or so from your camera lens. Presented with these challenges, it seemed to me (and undoubtedly many before me) that there would be two ways you could go about photographing these tiny splashes. The first is simply to fix up your camera on a tripod, set up a reasonably predictable source of water drops and fire away at it.
There are many people who have achieved great success with this approach, however not being blessed with the greatest amount of patience, I wanted to increase my hit rate. It`s for this reason that I went for the second approach; to control as many of the variables as possible using any and all tricks I could put my mind to.
The challenge would therefore be to build, find or scrounge a detector that would be able to detect the moment a falling water drop began it`s descent, and then to wait a configurable period of time before triggering the camera`s flash and/or shutter - in other words a photogate/delay timer circuit. There are kits available such as those from HiViz. com, however I felt that the delay timers on these circuits were a little less controllable than I would like, and with my programming skills being somewhat better than my electronics skills, I decided to build a programmable circuit based on the Arduino Microcontroller.
Additionally, controlling the delay timer from a PC or laptop would give me millisecond accurate control, and it would be much more repeatable than the somewhat vague screwdriver-adjusted potentiometer employed by the HiViz kits. I chose the Arduino as it`s a wonderful little platform for rapidly developing solutions such as this, and I found that with just a little electronics knowledge I was able to get into building and designing my own circuits quite quickly.
You`ll soon see that I quite quickly got beyond the simple litle flash controller I`d originally planned on building. Before we get to the good bits though - a note on safety. Be careful, please! Flash units have some very high voltages, so take all due care and attention. I take no responsibility for burned out flash units, smouldering Arduinos, fried cameras and melted retinas because you discharged a flash into your eyes.
Magic smoke is a crucial component of any electrical device, and once it escapes it can be very expensive to have it put back in again! I`d also warn you about soldering irons too, but since I accidentally burn myself with one on a semi-regular basis, I`d feel somewhat hypocritical.
That said though, they`re hot - be careful which end you pick up! First, I`ll go over the parts required to build your own circuit. I`ve linke 🔗 External reference
Related Circuits

If circuits experience frequency overvoltage conditions, continually replacing blown fuses can become quite costly. This shutdown circuit addresses that issue by substituting the fuse with a relay and a low-current SCR. When the input voltage exceeds the threshold established...
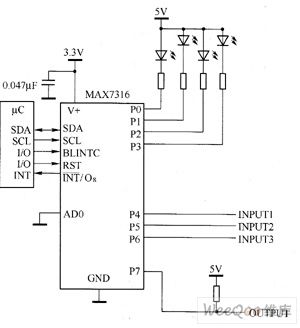
The main technical characteristics of the MAX7316 include a 400 kbps, 2-wire serial interface with a voltage tolerance of 5.5V. The operating voltage ranges from 2V to 3.6V. It features 8-bit PWM control for white LED brightness, with global...
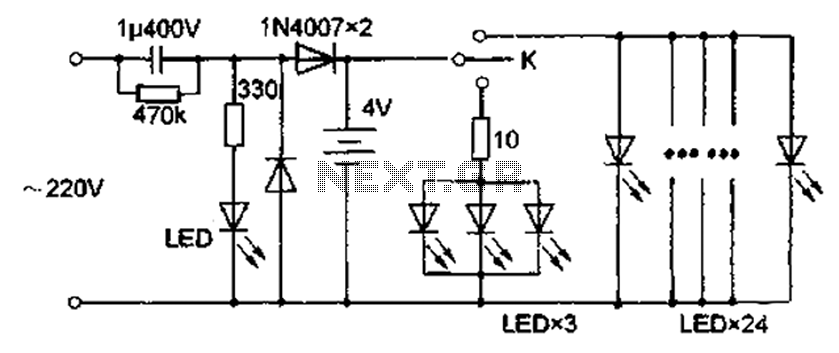
The circuit diagram depicted in Figure 5 illustrates a system for charging a lead-acid battery using 220V AC power. The circuit employs a capacitor, buck converter, and diode rectifier for this purpose. A red LED indicates the charging status....

The schematic includes programmable AVRs. For other members of the AVR family or additional programmable ICs compatible with Ponyprog, there is a J1 connector (CON10) that facilitates hardware expansion of the programmer. Additional information about compatible ICs can be...
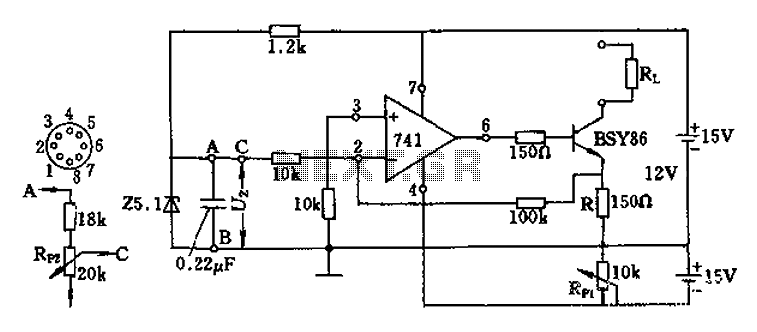
The Darlington transistor circuit BSY86 produces a large output current, with a maximum limit of 150 ohms. The output current is adjustable via resistor R and the RP1 potentiometer, maintaining constancy regardless of the load resistance Rl. The potentiometer...
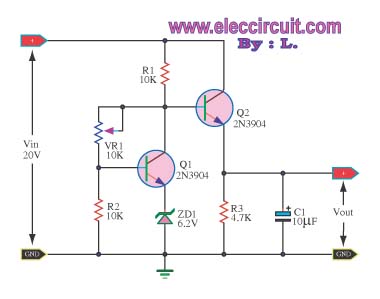
This circuit maintains a constant voltage, with an adjustable output voltage. It serves to reduce the input voltage while keeping the voltage constant. The amplifier model used is the Q1 2N3904 in a common-emitter configuration. This configuration allows the...