
16C71 IC For Experimenting With A Simple DC Servo Motor

The circuit for controlling servo motors with a PIC 16C71 microcontroller is designed to provide precise control over the position and speed of the servos. The PIC 16C71 microcontroller is a popular choice due to its versatility and ease of programming.
The input signals, which vary from 0 to 5V, are typically generated by the microcontroller's PWM (Pulse Width Modulation) output. The PWM signal is used to control the angle of the servo motor by varying the duty cycle. A standard servo motor expects a PWM signal with a pulse width that corresponds to its desired position; for example, a pulse width of 1.5 milliseconds typically positions the servo at its neutral position, while shorter and longer pulse widths will move the servo to its extreme positions.
In this setup, the microcontroller is connected to the servo motor via a driver circuit that may include transistors or dedicated driver ICs to handle the current requirements of the servo. The microcontroller's GPIO (General Purpose Input/Output) pins are configured to output the PWM signal, which is then fed into the control wire of the servo.
A power supply is necessary to provide the required voltage and current to the servo motors, which is typically higher than what the microcontroller can supply directly. A common configuration includes a separate power supply for the servos, with the grounds of the microcontroller and the servo power supply connected to ensure a common reference point.
Programming the PIC 16C71 involves writing firmware that initializes the GPIO pins, sets up the PWM frequency, and implements a control algorithm to adjust the PWM signal based on user inputs or feedback from sensors. The control algorithm can be as simple as a direct mapping of input signals to servo positions or more complex, involving PID (Proportional-Integral-Derivative) control for smoother operation.
Overall, this circuit provides a robust solution for applications requiring precise servo control, such as robotics, automation systems, and remote-controlled devices.This is a control of servo motors in software programming using PIC 16C71 microcontroller. The input signals are between 0 - 5V delivered by . 🔗 External reference
Related Circuits
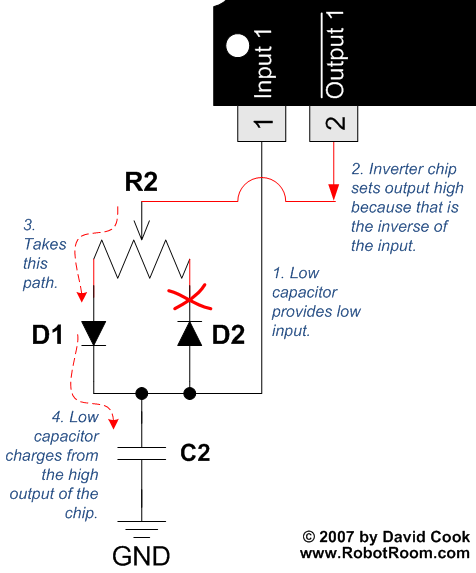
To understand how the 74AC14 PWM circuit functions, it is essential to focus on the schematic section that includes the trimpot, diodes, capacitor, and the first inverter logic gate. Initially, when power is applied to the circuit, the capacitor...

A bridge motor drive circuit is illustrated, featuring a driving stage composed of four transistors. The control circuit includes four terminals labeled A, B, C, and D, which facilitate the control of forward or reverse motor rotation. The control...

This simple circuit allows the use of an oscilloscope as a Time Domain Reflectometer (TDR). The operation involves sending a pulse down a cable and observing the resulting reflections. The circuit design for utilizing an oscilloscope as a Time Domain...

Correctly adjusted, the voltage on the pot wiper is slightly less than half D+ (appx. 0.47*D+) and Q1 will conduct if (D+)-(Vp) > 6.2 + 0.7 + 0.7, or 0.53*(D+) > 7.6V, (D+) > 14.3V. If D+ is lower...

In typical push-pull driver applications, the NPN-PNP transistor pair is alternately activated and deactivated using a square-wave signal. A basic driver circuit employs an inverter between the V1 and V2 inputs to toggle the output transistors. However, mismatched turn-on...

The principles of DC motors are discussed in the beginner and intermediate sections of this tutorial. This section will address the electronics required to interface them with a Basic X microcontroller or other digital chips. The simplest method of...